Laravel Telescope
導入
Laravel Telescope は、ローカルの Laravel 開発環境に最適な補助ツールです。Telescope は、アプリケーションに寄せられるリクエスト、例外、ログエントリ、データベースクエリ、キューイングされたジョブ、メール、通知、キャッシュ操作、スケジュールされたタスク、変数のダンプなどに対する洞察を提供します。
インストール
Composer パッケージマネージャを使用して、Telescope を Laravel プロジェクトにインストールできます:
composer require laravel/telescope
Telescope をインストールした後は、telescope:install Artisan コマンドを使用して、そのアセットとマイグレーションを公開してください。Telescope をインストールした後は、Telescope のデータを保存するために必要なテーブルを作成するために migrate コマンドも実行する必要があります。
php artisan telescope:install

php artisan migrate
最終的には、/telescope ルート経由で Telescope ダッシュボードにアクセスできます。
ローカル専用インストール
Telescope をローカル開発の補助としてのみ使用する場合は、--dev フラグを使用して Telescope をインストールできます:
composer require laravel/telescope --dev

php artisan telescope:install

php artisan migrate
telescope:install を実行した後、アプリケーションの bootstrap/providers.php 構成ファイルから TelescopeServiceProvider サービスプロバイダーの登録を削除する必要があります。代わりに、Telescope のサービスプロバイダーを、App\Providers\AppServiceProvider クラスの register メソッドで手動で登録してください。プロバイダーを登録する前に、現在の環境が local であることを確認します:
    /**
     * Register any application services.
     */
    public function register(): void
    {
        if ($this->app->environment('local')) {
            $this->app->register(\Laravel\Telescope\TelescopeServiceProvider::class);
            $this->app->register(TelescopeServiceProvider::class);
        }
    }
最後に、Telescope パッケージが 自動検出 されないようにするために、composer.json ファイルに以下を追加する必要があります:
"extra": {
    "laravel": {
        "dont-discover": [
            "laravel/telescope"
        ]
    }
},
設定
Telescope のアセットを公開した後、その主要な設定ファイルは config/telescope.php にあります。この設定ファイルを使用して、ウォッチャーオプション を構成できます。各構成オプションにはその目的の説明が含まれているため、このファイルを十分に調査してください。
必要に応じて、enabled 設定オプションを使用して Telescope のデータ収集を完全に無効にすることができます:
'enabled' => env('TELESCOPE_ENABLED', true),
データの削除
剪定を行わないと、telescope_entries テーブルには非常に速くレコードが蓄積されます。これを緩和するために、telescope:prune Artisan コマンドを毎日実行するように スケジュール する必要があります:
    use Illuminate\Support\Facades\Schedule;

    Schedule::command('telescope:prune')->daily();
デフォルトでは、24 時間より古いすべてのエントリが剪定されます。Telescope データを保持する期間を決定するために、コマンドを呼び出す際に hours オプションを使用できます。たとえば、以下のコマンドは 48 時間前に作成されたすべてのレコードを削除します:
    use Illuminate\Support\Facades\Schedule;

    Schedule::command('telescope:prune --hours=48')->daily();
ダッシュボードの認証
ダッシュボード�には /telescope ルート経由でアクセスできます。デフォルトでは、このダッシュボードには local 環境でのみアクセスできます。app/Providers/TelescopeServiceProvider.php ファイル内には、認可ゲート の定義があります。この認可ゲートは、非ローカル環境での Telescope へのアクセスを制御します。必要に応じてこのゲートを変更して、Telescope のインストールへのアクセスを制限することができます:
    use App\Models\User;

    /**
     * Register the Telescope gate.
     *
     * This gate determines who can access Telescope in non-local environments.
     */
    protected function gate(): void
    {
        Gate::define('viewTelescope', function (User $user) {
            return in_array($user->email, [
                'taylor@laravel.com',
            ]);
        });
    }
本番環境では APP_ENV 環境変数を production に変更することを確認してください。そうしないと、Telescope のインストールが一般公開される可能性があります。
Telescope のアップグレード
新しい Telescope のメジャーバージョンにアップグレードする際には、アップグレードガイド を注意深く確認することが重要です。
また、新しい Telescope バージョンにアップグレードする際には、Telescope のアセットを再公開する必要があります:
php artisan telescope:publish
アセットを最新の状態に保ち、将来のアップデートで問題が発生しないようにするために、アプリケーションの composer.json ファイルの post-update-cmd スクリプトに vendor:publish --tag=laravel-assets コマンドを追加することができます:
{
    "scripts": {
        "post-update-cmd": [
            "@php artisan vendor:publish --tag=laravel-assets --ansi --force"
        ]
    }
}
フィルタリング
エントリ
App\Providers\TelescopeServiceProvider クラスで定義された filter クロージャを使用して、Telescope によって記録されるデータをフィルタリングすることができます。デフォルトでは、このクロージャは local 環境と例外、失敗したジョブ、スケジュールされたタスク、および他のすべての環境で監視されたタグを持つデータを記録します:
    use Laravel\Telescope\IncomingEntry;
    use Laravel\Telescope\Telescope;

    /**
     * Register any application services.
     */
    public function register(): void
    {
        $this->hideSensitiveRequestDetails();

        Telescope::filter(function (IncomingEntry $entry) {
            if ($this->app->environment('local')) {
                return true;
            }

            return $entry->isReportableException() ||
                $entry->isFailedJob() ||
                $entry->isScheduledTask() ||
                $entry->isSlowQuery() ||
                $entry->hasMonitoredTag();
        });
    }
バッチ
filter クロージャは個々のエントリのデータをフィルタリングしますが、filterBatch メソッドを使用して、特定のリクエストやコンソールコマンドのすべてのデータをフィルタリングするクロージャを登録することができます。クロージャが true を返すと、Telescope によってすべてのエントリが記録されます。
    use Illuminate\Support\Collection;
    use Laravel\Telescope\IncomingEntry;
    use Laravel\Telescope\Telescope;

    /**
     * Register any application services.
     */
    public function register(): void
    {
        $this->hideSensitiveRequestDetails();

        Telescope::filterBatch(function (Collection $entries) {
            if ($this->app->environment('local')) {
                return true;
            }

            return $entries->contains(function (IncomingEntry $entry) {
                return $entry->isReportableException() ||
                    $entry->isFailedJob() ||
                    $entry->isScheduledTask() ||
                    $entry->isSlowQuery() ||
                    $entry->hasMonitoredTag();
                });
        });
    }
タギング
Telescopeを使用すると、「タグ」でエントリを検索できます。タグは、Eloquentモデルクラス名や認証済みユーザーIDなどがよく使用され、Telescopeがエントリに自動的に追加します。時折、独自のカスタムタグをエントリに添付したい場合があります。これを実現するには、Telescope::tagメソッドを使用できます。tagメソッドは、タグの配列を返すべきクロージャを受け入れます。クロージャによって返されたタグは、エントリに自動的に添付されるタグとマージされます。通常、App\Providers\TelescopeServiceProviderクラスのregisterメソッド内でtagメソッドを呼び出すべきです:
    use Laravel\Telescope\IncomingEntry;
    use Laravel\Telescope\Telescope;

    /**
     * Register any application services.
     */
    public function register(): void
    {
        $this->hideSensitiveRequestDetails();

        Telescope::tag(function (IncomingEntry $entry) {
            return $entry->type === 'request'
                        ? ['status:'.$entry->content['response_status']]
                        : [];
        });
     }
利用可能なウォッチャー
Telescopeの「ウォッチャー」は、リクエストやコンソールコマンドが実行されるときにアプリケーションデータを収集します。config/telescope.php構成ファイル内で有効にしたいウォッチャーのリストをカスタマイズできます:
    'watchers' => [
        Watchers\CacheWatcher::class => true,
        Watchers\CommandWatcher::class => true,
        ...
    ],
一部のウォッチャーには、追加のカスタマイズオプションを提供することもできます:
    'watchers' => [
        Watchers\QueryWatcher::class => [
            'enabled' => env('TELESCOPE_QUERY_WATCHER', true),
            'slow' => 100,
        ],
        ...
    ],
バッチウォッチャー
バッチウォッチャーは、バッチに関する情報を記録します。ジョブと接続情報を含みます。
キャッシュウォッチャー
キャッシュウォッチャーは、キャッシュキーがヒット、ミス、更新、忘れられたときにデータを記録します。
コマンドウォッチャー
コマンドウォッチャーは、Artisanコマンドが実行されるときに引数、オプション、終了コード、出力を記録します。ウォッチャーによって記録されるコマンドを除外したい場合は、config/telescope.phpファイル内のignoreオプションでコマンドを指定できます:
    'watchers' => [
        Watchers\CommandWatcher::class => [
            'enabled' => env('TELESCOPE_COMMAND_WATCHER', true),
            'ignore' => ['key:generate'],
        ],
        ...
    ],
ダンプウォッチャー
ダンプウォッチャーは、Telescopeで変数のダンプを記録および表示します。Laravelを使用する場合、変数はグローバルのdump関数を使用してダンプできます。ダンプが記録されるには、ブラウザでダンプウォッチャータブを開いている必要があります。それ以外の場合、ダンプはウォッチャーによって無視されます。
イベントウォッチャー
イベントウォッチャーは、アプリケーションによってディスパッチされるイベントに関するペイロード、リスナー、およびブロードキャストデータを記録します。Laravelフレームワークの内部イベントは、イベントウォッチャーによって無視されます。
例外ウォッチャー
例外ウォッチャーは、アプリケーションによってスローされる報告可能な例外のデータとスタックトレースを記録します。
ゲートウォッチャー
ゲートウォッチャーは、アプリケーションによるゲートとポリシーのチェックのデータと結果を記録します。ウォッチャーによって記録される特定の権限を除外したい場合は、config/telescope.phpファイルのignore_abilitiesオプションでそれらを指定できます:
    'watchers' => [
        Watchers\GateWatcher::class => [
            'enabled' => env('TELESCOPE_GATE_WATCHER', true),
            'ignore_abilities' => ['viewNova'],
        ],
        ...
    ],
HTTPクライアントウォッチャー
HTTPクライアントウォッチャーは、アプリケーションによって行われるHTTPクライアントリ��クエストを記録します。
ジョブウォッチャー
ジョブウォッチャーは、アプリケーションによってディスパッチされるジョブのデータとステータスを記録します。
ログウォッチャー
ログウォッチャーは、アプリケーションによって書き込まれたログデータを記録します。
デフォルトでは、Telescopeはerrorレベル以上のログのみを記録します。ただし、この動作を変更するには、アプリケーションのconfig/telescope.php構成ファイルのlevelオプションを変更できます:
    'watchers' => [
        Watchers\LogWatcher::class => [
            'enabled' => env('TELESCOPE_LOG_WATCHER', true),
            'level' => 'debug',
        ],

        // ...
    ],
メールウォッチャー
メールウォッチャーを使用すると、アプリケーションによって送信されたメールとそれに関連するデータのブラウザ内プレビューを表示できます。また、メールを.emlファイルとしてダウンロードすることもできます。
モデルウォッチャー
モデルウォッチャーは、Eloquentのモデルイベントがディスパッチされるたびにモデルの変更を記録します。ウォッチャーのeventsオプションを使用して、記録するモデルイベントを指定できます:
    'watchers' => [
        Watchers\ModelWatcher::class => [
            'enabled' => env('TELESCOPE_MODEL_WATCHER', true),
            'events' => ['eloquent.created*', 'eloquent.updated*'],
        ],
        ...
    ],
特定のリクエスト中にハイドレートされたモデルの数を記録したい場合は、hydrationsオプションを有効にしてください。
    'watchers' => [
        Watchers\ModelWatcher::class => [
            'enabled' => env('TELESCOPE_MODEL_WATCHER', true),
            'events' => ['eloquent.created*', 'eloquent.updated*'],
            'hydrations' => true,
        ],
        ...
    ],
通知ウォッチャー
通知ウォッチャーは、アプリケーションから送信されたすべての通知を記録します。通知がメールをトリガーし、メールウォッチャーが有効になっている場合、メールはメールウォッチャー画面でプレビューできます。
クエリウォッチャー
クエリウォッチャーは、アプリケーションによって実行されるすべてのクエリの生のSQL、バインディング、および実行時間を記録します。ウォッチャーは、100ミリ秒よりも遅いクエリをslowとしてタグ付けします。��ウォッチャーのslowオプションを使用して、遅いクエリの閾値をカスタマイズできます:
    'watchers' => [
        Watchers\QueryWatcher::class => [
            'enabled' => env('TELESCOPE_QUERY_WATCHER', true),
            'slow' => 50,
        ],
        ...
    ],
Redisウォッチャー
Redisウォッチャーは、アプリケーションによって実行されたすべてのRedisコマンドを記録します。Redisをキャッシュとして使用している場合、キャッシュコマンドもRedisウォッチャーによって記録されます。
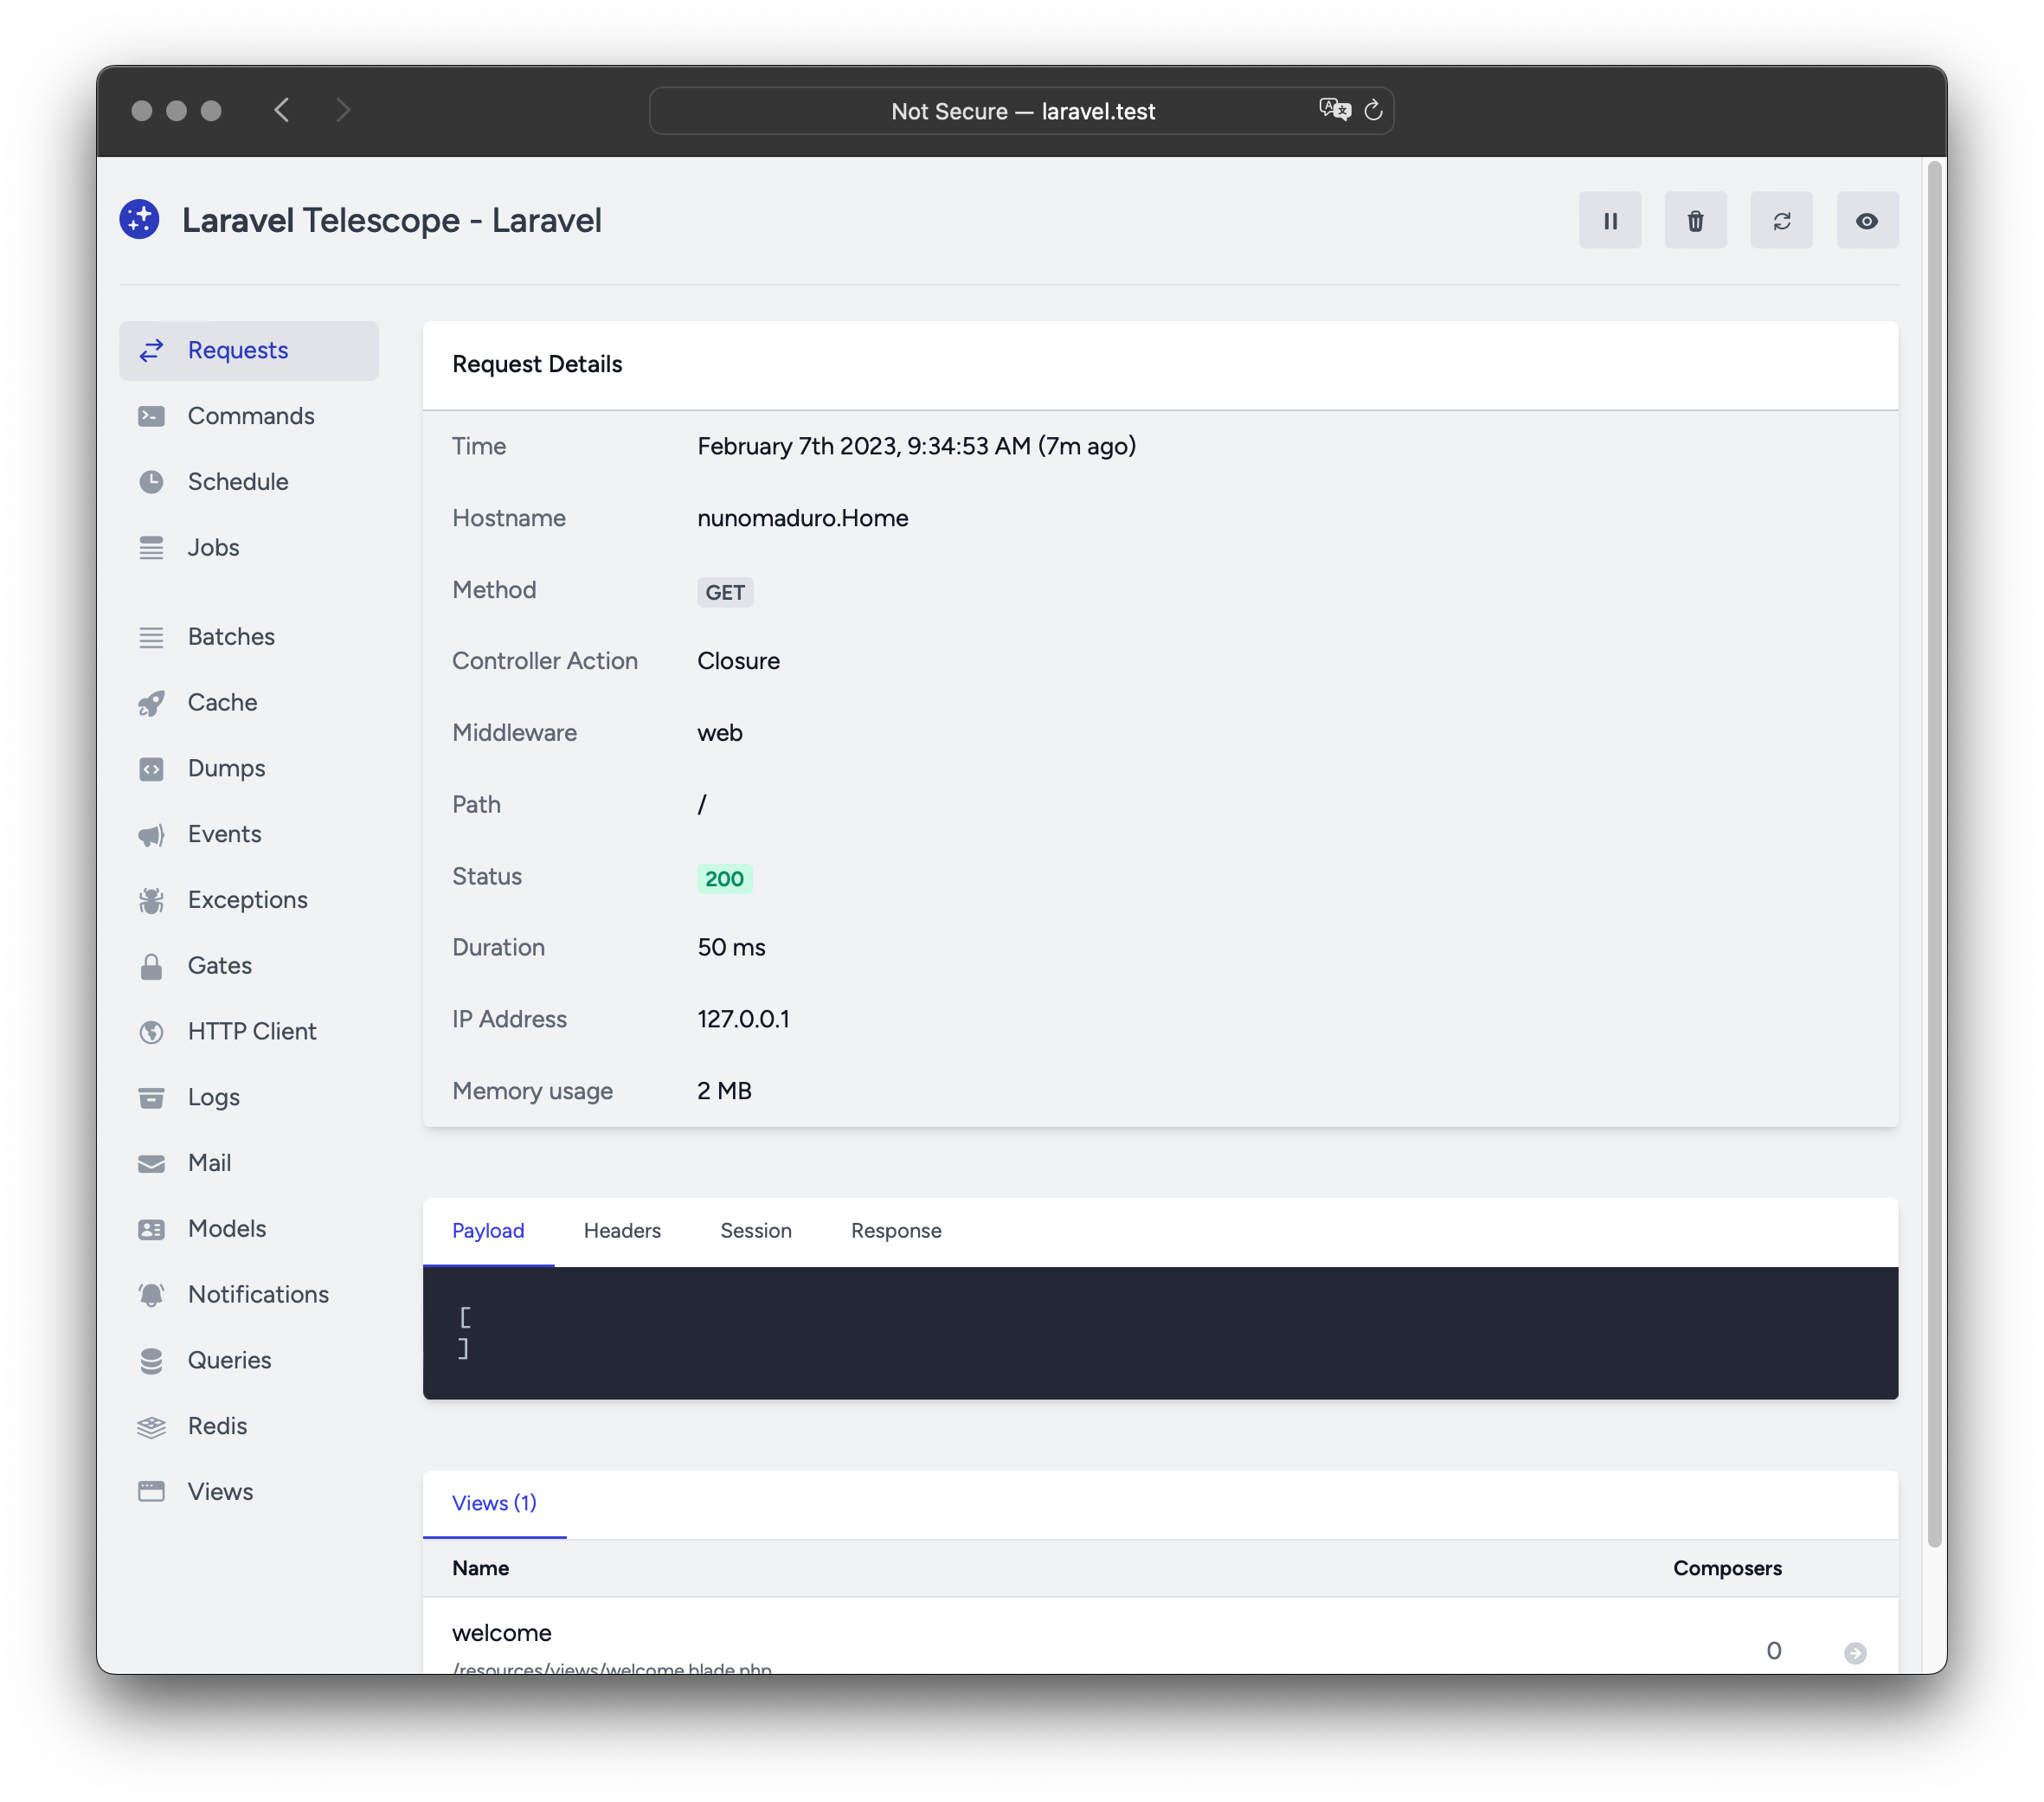
リクエストウォッチャー
リクエストウォッチャーは、アプリケーションで処理されるすべてのリクエストに関連するリクエスト、ヘッダー、セッション、およびレスポンスデータを記録します。size_limit(キロバイト単位)オプションを使用して、記録されるレスポンスデータを制限できます:
    'watchers' => [
        Watchers\RequestWatcher::class => [
            'enabled' => env('TELESCOPE_REQUEST_WATCHER', true),
            'size_limit' => env('TELESCOPE_RESPONSE_SIZE_LIMIT', 64),
        ],
        ...
    ],
スケジュールウォッチャー
スケジュールウォッチャーは、アプリケーションで実行されるすべてのスケジュールされたタスクのコマンドと出力を記録します。
ビューウォッチャー
ビューウォッチャーは、ビューの名前、パス、データ、およびビューのレンダリング時に使用される「コンポーザー」を記録します。
ユーザーアバターの表示
Telescopeダッシュボードは、特定のエントリが保存されたときに認証されたユーザーのアバターを表示します。デフォルトでは、TelescopeはGravatarウェブサービスを�使用してアバターを取得します。ただし、App\Providers\TelescopeServiceProviderクラスでコールバックを登録することで、アバターURLをカスタマイズできます。コールバックはユーザーのIDとメールアドレスを受け取り、ユーザーのアバター画像のURLを返す必要があります:
    use App\Models\User;
    use Laravel\Telescope\Telescope;

    /**
     * すべてのアプリケーションサービスを登録します。
     */
    public function register(): void
    {
        // ...

        Telescope::avatar(function (string $id, string $email) {
            return '/avatars/'.User::find($id)->avatar_path;
        });
    }